Kubeadm to RKE2: Transformed My K8sHomelab Into Production‑Grade Infra
Scaling to 21 Nodes Across 3 Datacenters With Terraform and Ansible
As a Senior DevSecOps Engineer, I’m dedicated to building secure, resilient, and scalable cloud-native infrastructures tailored for modern applications. With a strong focus on microservices architecture, I design solutions that empower development teams to deliver and scale applications swiftly and securely. I’m skilled in breaking down monolithic systems into agile, containerised microservices that are easy to deploy, manage, and monitor.
Leveraging a suite of DevOps and DevSecOps tools—including Kubernetes, Docker, Helm, Terraform, and Jenkins—I implement CI/CD pipelines that support seamless deployments and automated testing. My expertise extends to security tools and practices that integrate vulnerability scanning, automated policy enforcement, and compliance checks directly into the SDLC, ensuring that security is built into every stage of the development process.
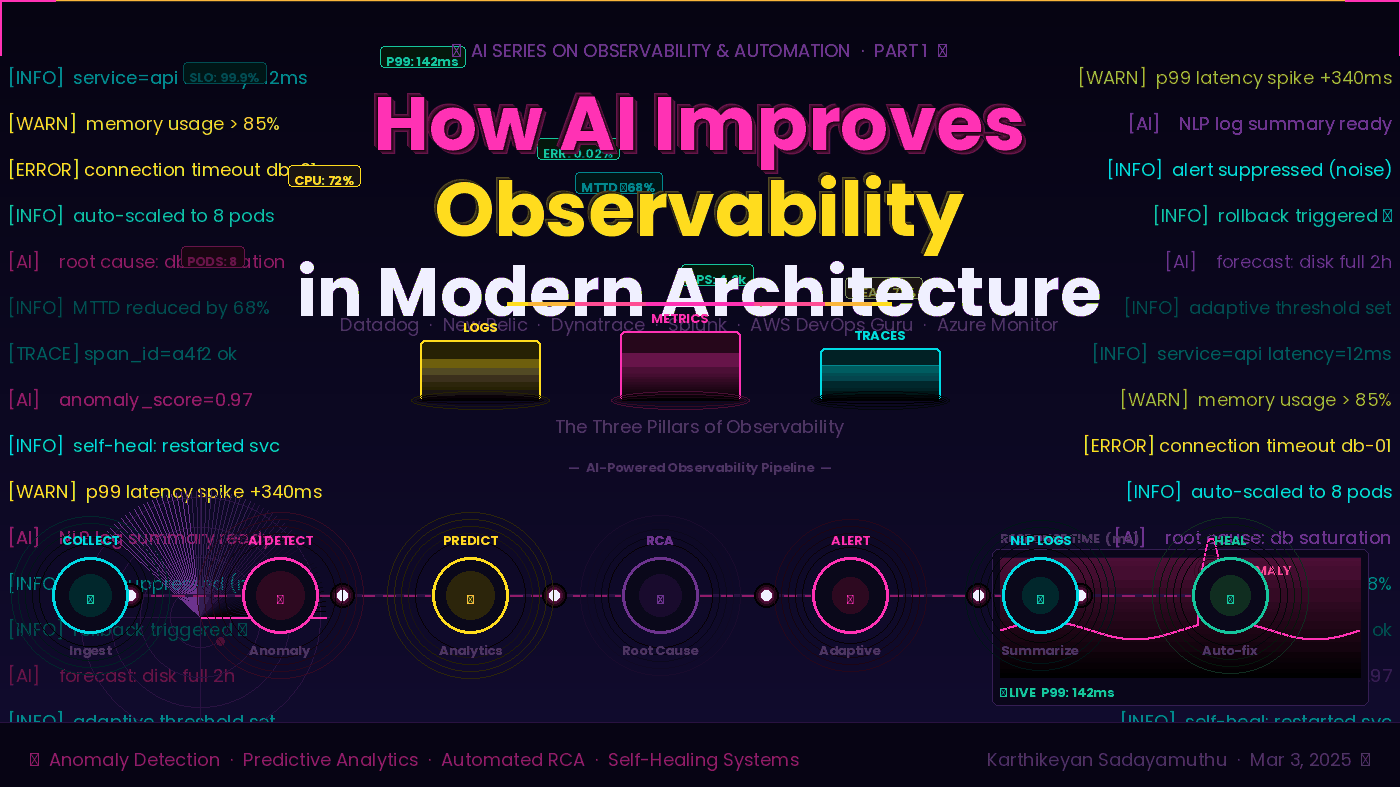
Proficient in multi-cloud environments like AWS, Azure, and GCP, I work with tools such as Prometheus, Grafana, and ELK Stack to provide robust monitoring and logging for observability. I prioritise automation, using Ansible, GitOps workflows with ArgoCD, and IaC to streamline operations, enhance collaboration, and reduce human error.
Beyond my technical work, I’m passionate about sharing knowledge through blogging, community engagement, and mentoring. I aim to help organisations realize the full potential of DevSecOps—delivering faster, more secure applications while cultivating a culture of continuous improvement and security awareness.
INTRODUCTION:
The Evolution of an Empire
Most homelabs start as experiments — a single node, a few containers, and a steep learning curve. Mine stopped being a project the moment it evolved into a 21‑node, multi‑datacenter powerhouse. With control‑plane nodes stretched across physical zones and specialised worker pools for high‑IOPS databases, GPU‑accelerated AI workloads, and latency‑sensitive apps, the stakes changed. I wasn’t just “running services” anymore; I was operating real infrastructure.
That was the turning point.
For years, kubeadm was my gateway into Kubernetes. It taught me the fundamentals, the internals, and the discipline. But at 21 nodes across three physical zones, the learning phase ended — and the limitations began.
High availability felt like fragile choreography.
Upgrades demanded a mix of surgical precision and sheer luck.
Security hardening meant manually chasing CIS Benchmark alignment across dozens of nodes.
Automation became a battle against the tool instead of a path to progress.
I didn’t want a cluster I had to babysit.
I wanted one that was deterministic, repeatable, and rebuildable — a platform that behaved like production, not a handcrafted science project.
The “Boring” Power of RKE2
RKE2 — Rancher’s next‑generation Kubernetes distribution, often known as “RKE Government.” It blends the simplicity of K3s with the enterprise‑grade security of RKE1. Unlike kubeadm, which hands you a toolbox and expects you to assemble the cluster yourself, RKE2 is a secure‑by‑default engine. It replaces Docker with containerd, launches control‑plane components as static pods, and enforces hardened defaults from the moment the node boots.
But the real reason I moved wasn’t the binary.
It was the operational excellence.
RKE2 didn’t just simplify my cluster — it transformed it. My 21‑node migration proved what the documentation promises: RKE2 is built for environments where security, consistency, and automation matter.
It gave me:
Security‑first architecture — CIS‑hardened by default and FIPS 140‑2 readiness out of the box.
True HA without the headache — native etcd quorum management that thrives across multi‑zone topologies.
GitOps‑ready automation — a single declarative config that makes Terraform and Ansible work with the cluster, not against it.
This wasn’t just a software upgrade.
It was the moment my homelab crossed the line from a weekend project into a self‑healing, production‑grade, automated empire.

The Blueprint — Architecture at Scale
The 3‑Zone Topology - Why Three Datacenters
Distributed systems love odd numbers, and etcd is the perfect example.
Quorum is everything — and three nodes is the sweet spot.
| Nodes | Quorum Required | Fault Tolerance |
|---|---|---|
| 1 | 1 | 0 failures |
| 2 | 2 | 0 failures |
| 3 | 2 | 1 failure |
| 4 | 3 | 1 failure |
| 5 | 3 | 2 failures |
With three zones, you get:
True HA with minimal complexity
Automatic quorum preservation
Survivability of an entire zone outage
Predictable failover behaviour
Lose DC1?
DC2 + DC3 still form a quorum (2/3).
The cluster stays alive.
The Quorum Trap (Critical for 3‑DC Clusters)
Even though RKE2 simplifies HA dramatically, etcd still requires an odd number of masters.
3 masters = safe
2 masters = dangerous
4 masters = pointless
5 masters = overkill for a homelab
RKE2 handles the etcd cluster automatically, but kubeadm would require:
Manual etcd initialization
Manual peer configuration
Manual certificate distribution
Manual recovery steps
This is one of the biggest reasons kubeadm collapses at scale — and RKE2 thrives.
My Physical Layout
| Zone | Proxmox Host | Network | Control Plane | Workers |
|---|---|---|---|---|
| dc1 | pve‑01 (Rack A) | 10.0.1.0/24 | rke2-master-dc1-a | 2 app + 3 db + 1 gpu |
| dc2 | pve‑02 (Rack B) | 10.0.2.0/24 | rke2-master-dc2-a | 2 app + 3 db + 1 gpu |
| dc3 | pve‑03 (Rack C) | 10.0.3.0/24 | rke2-master-dc3-a | 2 app + 3 db + 1 gpu |
Each zone is:
A separate Proxmox host
A separate subnet
A separate failure domain
If one rack loses power, or a host crashes, the system degrades — but does not fail.
💡 Pro Tip: Network Reality
You don’t need 10GbE for this to work.
etcd traffic is lightweight (~1–2 Mbps)
What matters is latency, not bandwidth
Keep inter-zone latency under ~5ms for stable consensus
Cilium’s native routing mode handles cross-zone traffic cleanly even on 1GbE.
Node Categorisation — Designing for Workload Isolation
At small scale, all nodes look the same.
At 21 nodes, that approach breaks.
Different workloads have fundamentally different resource profiles:
Databases need consistent IOPS and memory
Applications need horizontal scalability
GPU workloads need isolation and scheduling guarantees
Mixing them leads to contention, unpredictability, and performance degradation.
So the cluster is split into specialised pools.
Node Categorisation — The Power of Specialised Pools
Mixed workloads are dangerous without isolation.
A single noisy ML job can starve your database or API layer.
That’s why I built dedicated pools, each with its own CPU, GPU, RAM, storage, taints, and scheduling rules.
Node Pools
| Pool | Count | vCPU | RAM | Storage | Taint | Workloads |
|---|---|---|---|---|---|---|
| Control-plane | 3 | 8 | 16GB | 50GB SSD | CriticalAddonsOnly=true:NoSchedule |
etcd, API server, scheduler |
| App | 6 | 4 | 8GB | 30GB SSD | None | Web apps, APIs, ingress |
| DB | 9 | 8 | 16GB | 100GB NVMe | database=true:NoSchedule |
PostgreSQL, Redis, Kafka |
| GPU | 3 | 16 | 64GB | SSD + NVIDIA | nvidia.com/gpu=true:NoSchedule |
ML inference, training |
Taint Strategy
# DB nodes: Only workloads that tolerate database=true
kubectl taint nodes rke2-worker-dc1-db-a database=true:NoSchedule

# GPU nodes: Only workloads that request GPU resources
kubectl taint nodes rke2-worker-dc1-gpu-a nvidia.com/gpu=true:NoSchedule
Label Strategy
topology.kubernetes.io/zone: dc1
node-type: app|db|gpu
pool: general|database|ml
This ensures:
Databases stay on DB nodes
ML workloads stay on GPU nodes
Apps stay on app nodes
And nothing fights for resources it shouldn’t
This is how you prevent noisy‑neighbour problems at scale.
The Networking Layer — Cilium + kube‑vip
Why Cilium Instead of Calico?
| Feature | Calico | Cilium |
|---|---|---|
| eBPF-based | ❌ | ✅ |
| Multi-zone routing | ✅ | ✅ (faster) |
| Network policies | ✅ | ✅ |
| Observability | ❌ | ✅ (Hubble) |
| Service mesh | ⚠️ | ✅ (built-in) |
Cilium’s native routing mode is perfect for multi‑zone clusters:
Pod IPs are routable across zones
No overlay = lower latency
eBPF replaces iptables for 5× faster packet processing
Hubble gives you real‑time flow visibility
kube‑vip for Control‑Plane HA
Without kube‑vip, you’d need:
HAProxy
Keepalived
Two extra VMs
Manual failover logic
With kube‑vip:
Runs as a static pod on each master
VRRP elects a leader
Leader holds the VIP (e.g.,
10.0.1.200)kubeconfig points to the VIP, not individual nodes
It’s elegant, simple, and rock‑solid.
Building the Foundation (Terraform)
If Proxmox is the cleared land for my estate, Terraform is used to work on the foundation. At a 21-node scale, consistency is everything. If the foundation is crooked, the rest of the house will eventually lean. Ansible will be used to elevate the building (Kubernetes setup), then Gitops (ArgoCD) will be used for decoration (Furniture).
By using Terraform, I ensure that every one of my 21 nodes is a "perfect twin" of its peers in the same pool.
The Hybrid Workflow: Local Execution, Cloud Intelligence
I execute my Terraform runs locally for speed, but I offload the "brains" of the operation to Terraform Cloud (TFC).
The Source of Truth: TFC stores my state files securely. This ensures that no matter where I run the code from, the infrastructure state is locked and versioned.
Secret Vaulting: Sensitive data—like my Proxmox API tokens and SSH keys—never touch my local machine or GitHub. They live as encrypted variables within the Terraform Cloud workspace.


Constructing the Footprint
Instead of manually clicking through the Proxmox GUI 21 times, I use a modular approach. I've defined a "Blueprint" (module) for a generic Ubuntu 24.04 VM, which I then deploy across my three zones:
The Strategy: I manage pools, not individual nodes. I tell Terraform I want 9 Database nodes, and it calculates the distribution across the three datacenters automatically.
Pool-Specific Hardware: Terraform provisions each pool with its unique resource requirements — NVMe storage for database nodes, GPU passthrough for ML nodes, and learner specs for the general app pool.
The Identity: Terraform handles the static IP assignment and Cloud-Init injection. When a node boots, it already knows its name, its IP, and which Kubernetes pool it belongs to.
Remote state management: Terraform state file is managed in Terraform Cloud. But I run the command locally. I might use remote run too if I create a self-hosted runner later in future with kubernetes pod.

The foundation is poured. We have 21 heartbeating Ubuntu 24.04 nodes, perfectly distributed across three zones, with static IPs and pool-specific hardware.
Now, we hand the baton to Ansible to take us from raw VMs to a security-hardened Kubernetes powerhouse.

Building to the Roof (Ansible)
With the foundation laid by Terraform, Ansible is the construction crew that turns bare VMs into a hardened, HA RKE2 cluster. Think of Terraform as the concrete slab and Ansible as the framing, insulation, and roof — everything that makes the house livable and resilient.
The Role of lab-lab-rke2
lab-lab-rke2 is the single Ansible role that codifies your cluster build rules.
What it does, at a glance:
OS hardening for Ubuntu 24.04 (kernel tuning, sysctl, package hygiene)
RKE2 installation and configuration (server vs agent)
kube‑vip and Cilium configuration hooks for HA and networking
Node labeling and tainting for pool enforcement
GPU runtime setup and driver validation on GPU nodes
Idempotent checks so repeated runs are safe
This role is the repeatable recipe that guarantees every node is built the same way.


The Bootstrap Sequence (Deterministic, Step‑by‑Step)
OS Prep — apply security hardening, install prerequisites, configure SSH and time sync.
First Master Init — install RKE2 server, start the first control‑plane, generate initial certificates.
HA Master Join — sequentially join the remaining masters to form etcd quorum and control plane.
Worker Join — register app, db, and GPU workers; apply labels and taints.
Post‑Install Validation — verify control‑plane health, etcd quorum, Cilium status, and kube‑vip VIP ownership.
Why sequential matters: the first master must be healthy before others join to avoid split‑brain and to ensure deterministic certificate distribution.
Idempotency and Safety
Ansible’s idempotency is the operational superpower here.
One variable change in the role updates only what’s necessary.
Re-running the playbook is safe and becomes the standard maintenance operation.
Playbook checks validate preconditions and abort safely if something is off.
This turns maintenance into a predictable, low‑risk activity rather than a manual firefight.


Integration with Terraform Outputs
Ansible consumes Terraform outputs as its inventory and input source.
How it flows: Terraform outputs node IPs, hostnames, and tags → Ansible reads
terraform output -jsonor the TFC API →lab-lab-rke2targets nodes by role and zone.Result: No guesswork. No manual SSH lists. The bootstrap is fully data‑driven.
This tight coupling is what makes the build deterministic and reproducible.
Rolling Upgrades and Day‑2 Operations
Your Ansible role also codifies safe upgrades and routine ops.
Rolling upgrades: drain → upgrade RKE2 binary → restart → uncordon.
Multi‑DC awareness: upgrade order preserves quorum and minimizes risk by upgrading workers per DC and masters with quorum safety.
Nuke & Pave: destroy a node, let Terraform recreate it, and let Ansible rejoin it — zero drift guaranteed.
Upgrades become a scripted, auditable operation rather than an ad‑hoc event.
The Control Room (Rancher UI and Unified SSO)
Rancher is the single pane of glass for cluster operations, and Keycloak is the identity brain that powers seamless Single Sign‑On across the platform. I configured Rancher to use OIDC via Keycloak, and Keycloak federates authentication to Google and GitHub, so users sign in with familiar accounts.
Security: No more “admin/admin” credentials. Access is governed by GitHub Organisation membership or Google Workspace groups.
Auditability: Every action taken in the UI is tied to a real identity.
Centralisation: One login to rule them all. Once you are in via Keycloak, you have access to the entire multi-DC dashboard.

Redirects me to keycloak


signed in with google


Conclusion: From Project to Production
Moving from kubeadm to RKE2 wasn't just about changing a tool; it was about adopting a "Production-First" mindset. By treating my homelab like a professional datacenter using Terraform for the foundation, Ansible for the build, and RKE2 for the hardened engine, I’ve created a 21-node environment that is self-healing, deterministic, and secure.
If Proxmox is my land and RKE2 is my building, I am now ready to "move in" the furniture. The cluster is rock-solid, the foundation is level, and the lights are on.
What’s Next? (Don't Miss Out!)
This is just the beginning of the "Empire" series. I will be deep-diving into every layer of this stack, showing you how to turn raw compute into a fully automated platform.
Subscribe and follow me on [LinkedIn] to catch my upcoming articles on:
Advanced Rancher UI: Deep-dives into SSO with SAML, Keycloak, and Google/GitHub providers.
The Storage Stack: Deploying Ceph (Operator and Cluster) for distributed persistent data.
Cloud Native Postgres (CNPG): Running enterprise-grade databases.
GitOps Mastery: Automating everything with ArgoCD.
The Security Vault: Secrets management with HashiCorp Vault.
AI Readiness: Installing the NVIDIA GPU-Operator.
External Access: Securing apps with OAuth2-Proxy and SSO.
Let’s connect and build something massive. See you in the next one!